Powercarved Wood Waves
Power carving is fun – messy, but fun – and this was no exception. Making wall art with power carving is a great way to let loose and not worry about joinery, getting things square, and just generally focus on the fun parts of woodworking.
This triptych is carved from a beech panel, then coated with a black wax coating, which plays with the natural light from the window as well as the LEDs behind it.
As mentioned, the triptych started life as a beech butcher block panel, meant to be used in DIY kitchen renovations and the like. This happened to be the offcut from a bunch of other projects, but they’re relatively inexpensive. Just like the other panels (Karri, Acacia, Bamboo, Vic Ash) they’re not available from all Bunnings, but if they are available should be about $80-100AUD, for a 1800x600x26mm panel.
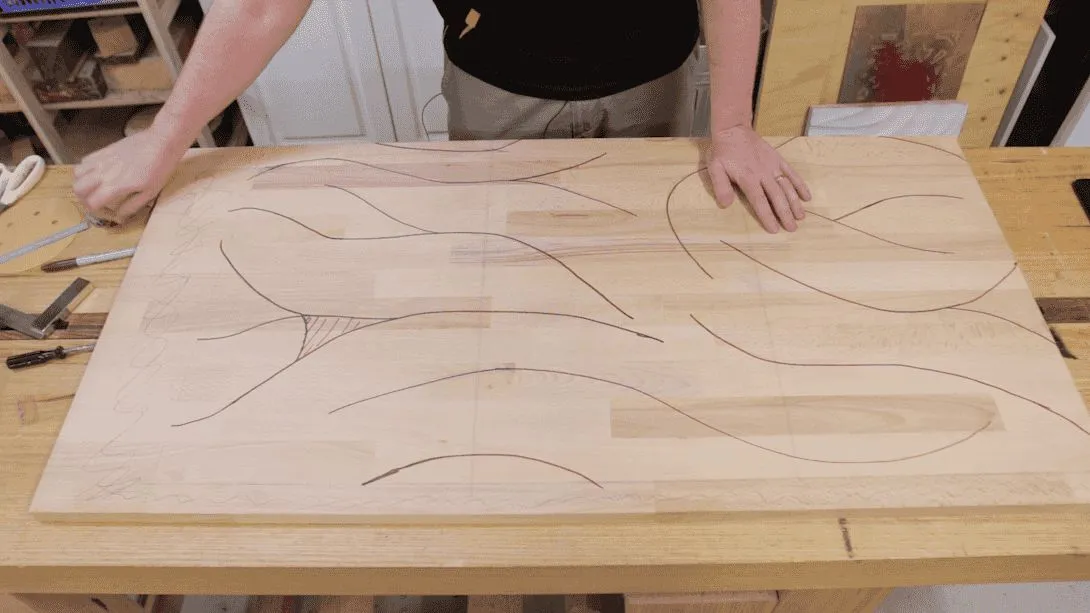
The initial design drawn on was created by throwing a towel on the table, and playing with that. That maintains the ‘fabric’ look when finally done – the peaks and valley are realistic of the fabric pulling at itself.
The lines represent the areas that won’t get carved – or more accurately the peaks. They’ll likely get nibbled at as the power carving process isn’t exactly an accurate one, but the general idea is they’re the high points, everything else is a low point.
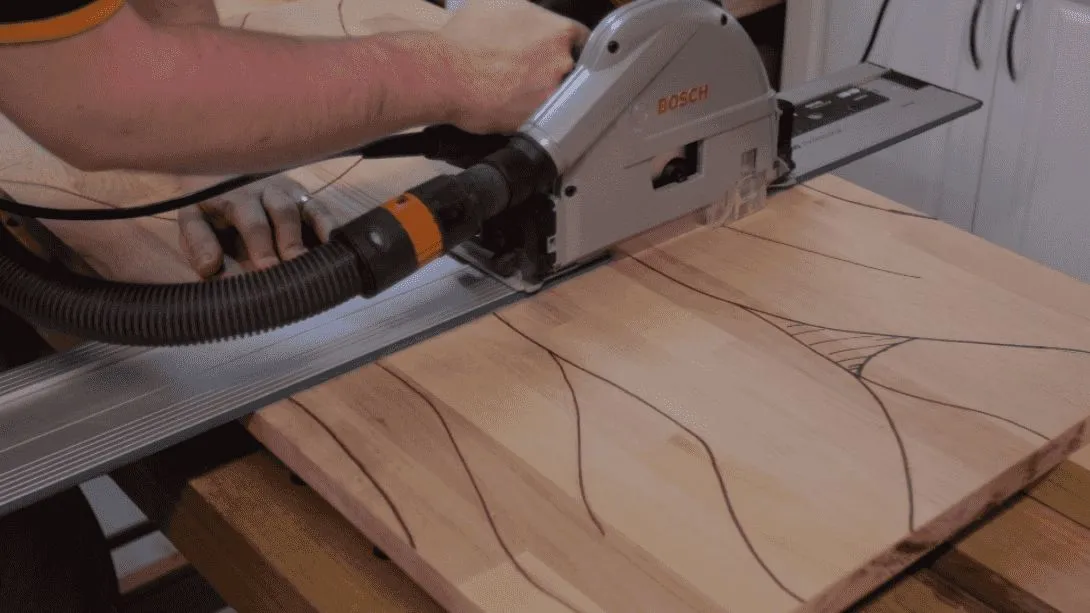
I could have carved this as one big panel, and that would have been the best way to ensure consistency in the sculpting depth. However, I wasn’t sure how to cut it up afterwards safely. The panel was too unwieldy (and too big) to fit into my crosscut sled, and using a tracksaw on it after sculpting could have been a bit wobbly.
In the end, I just cut the three panels down to size before carving.
At the end of the day with the project all done, you can’t really see where is or isn’t perfect, as there is the separation between the panels.
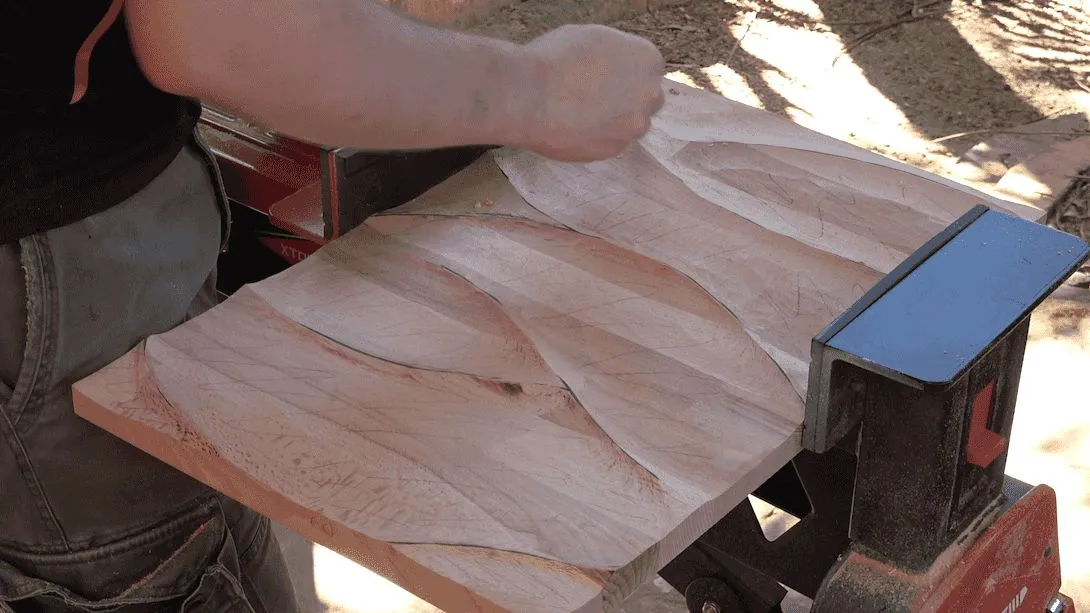
Just like I do with sanding furniture, I marked out all the spots that needed to be sanded with pencil. Once the pencil disappears, I know I’ve sanded far enough and can move onto the next section.
Then when I’m finished with that grit, I put down more pencil marks, and move onto the next grit. I worked through 60-80-120-240-320 grit.
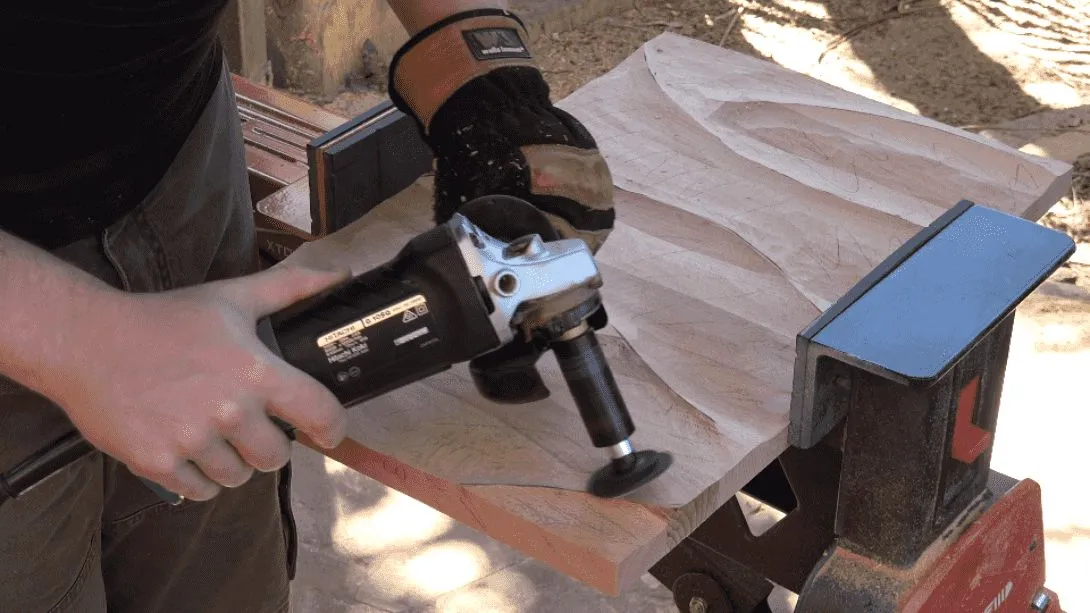
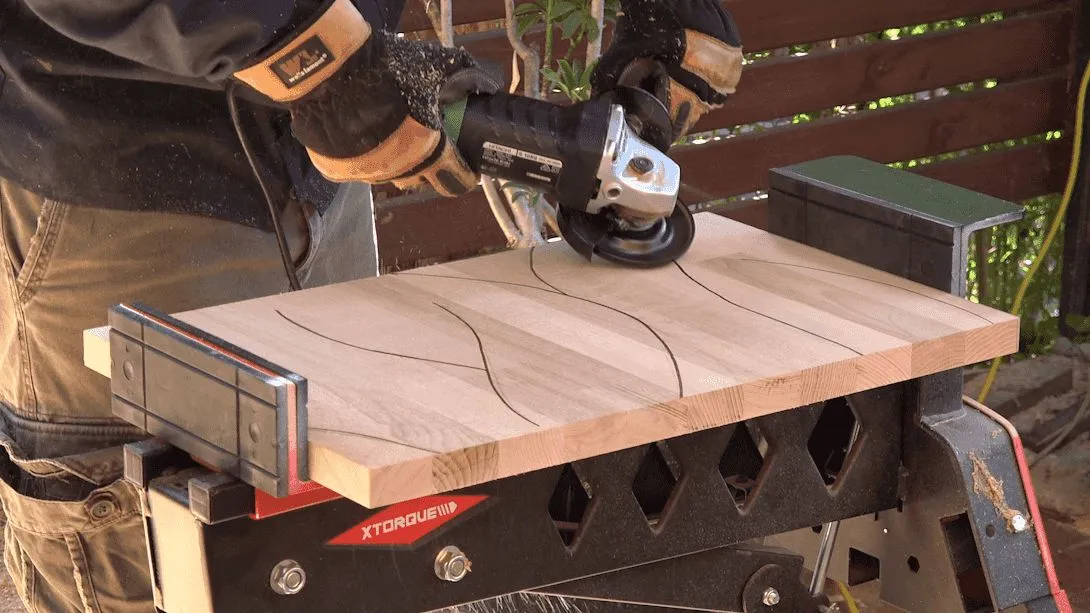
Speaking of sanding, I could have hand sanded this (yuck), but instead used Arbortechs Contour Sander. Just like the Turbo Plane, it attaches to the grinder. It has a flexible pad, so you don’t lose all your details. The downside of this (compared to something like the mini-turbo sanding pad) is that it isn’t as good for ‘final shaping’.
I find that Arbortechs tools that have a long shaft like this (ball gouge, mini turbo, contour sander) do tend to have a bit more vibration transfer through the handle. I may have to look into getting a specific type of glove or wrap for those tasks.
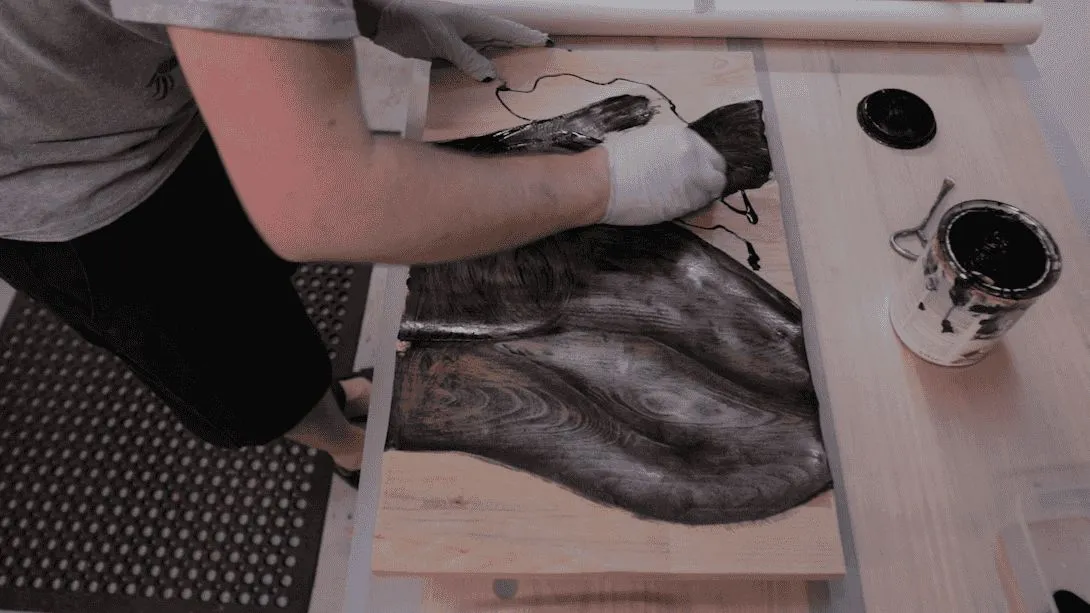
The panels recieved coats of OSMOs Wood Wax in black. I tried rubbing this on using white scotchbrite pads, but that just didn’t leave enough product behind for the opacity I was going for. I ended up using a 4mm nap microfibre roller to get the coverage I wanted.
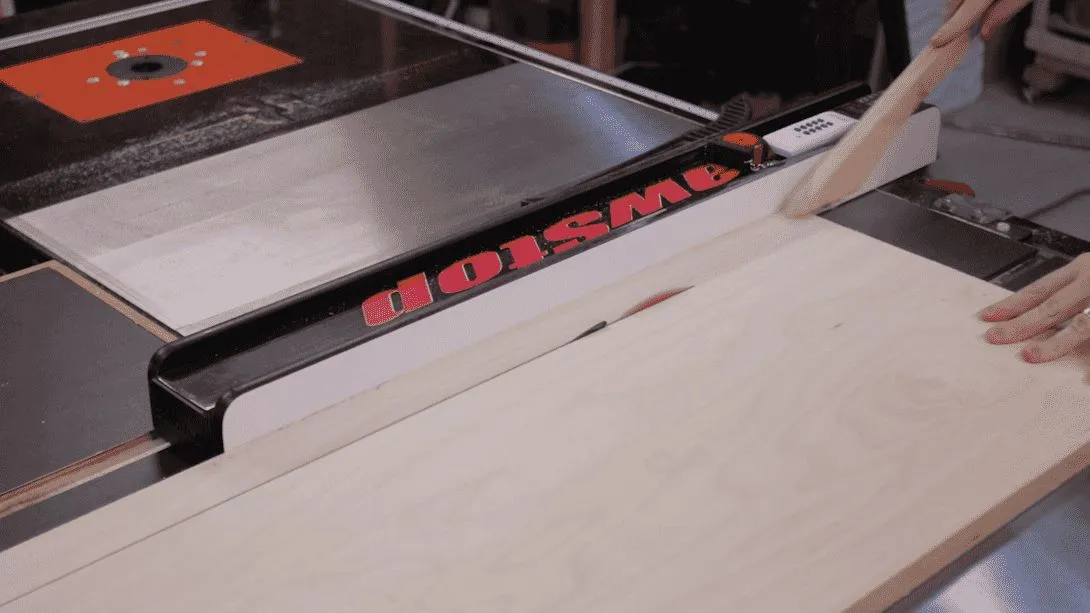
Because I’m going for lighting, the panels couldn’t be attached to the wall individually, but needed a frame to keep each of them the right distance apart. To do so, I just ripped some strips from some left over 24mm birch plywood (left over from the desk build). Far too nice a material for this task, but it was the only thing I had on hand, and in the size I had left over, wasn’t much use for other projects.
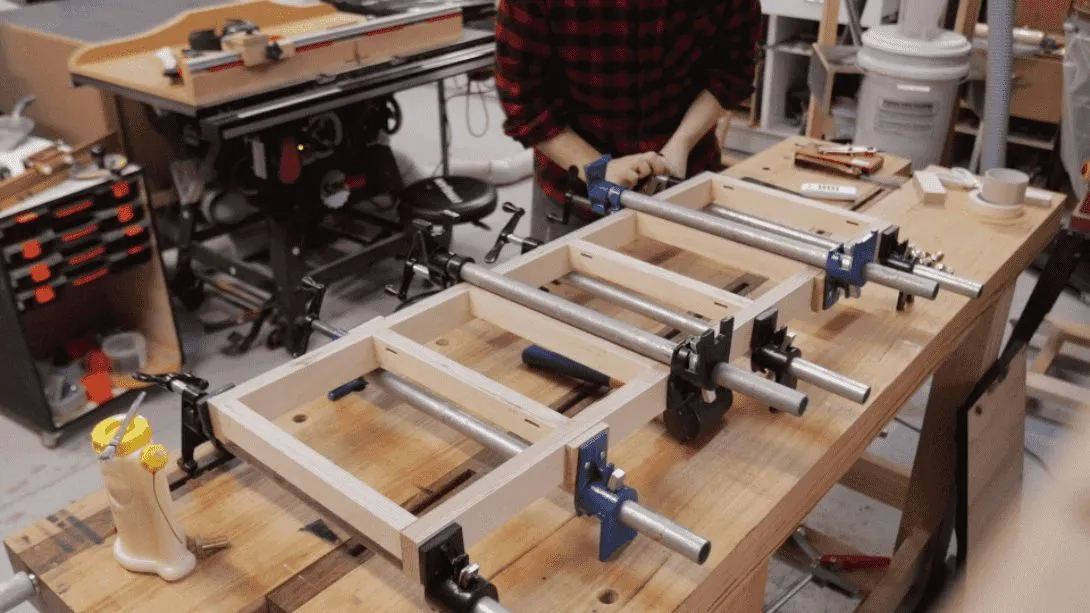
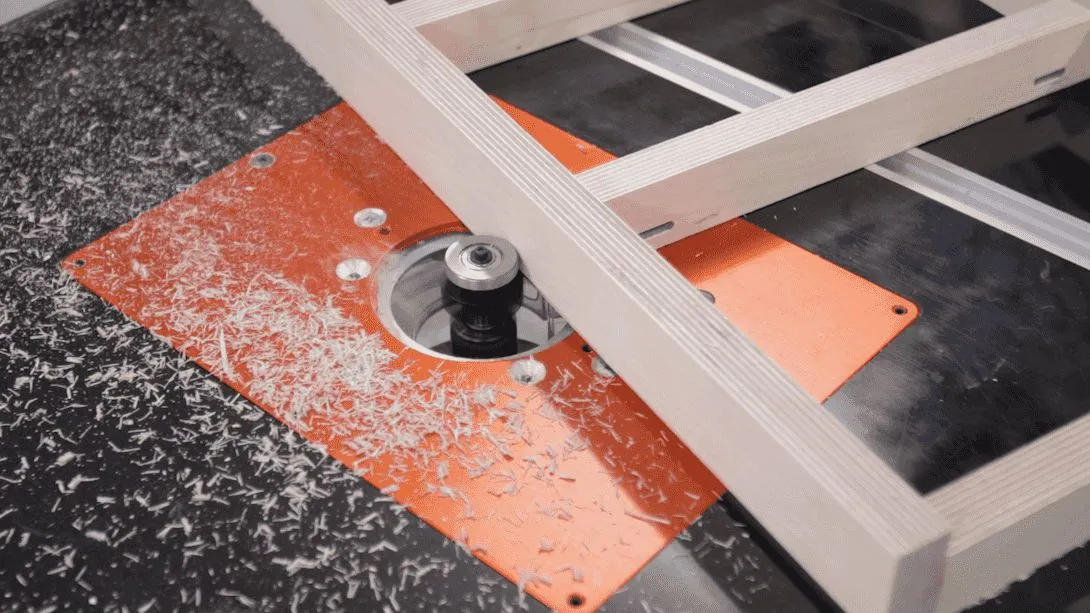
I routed a rebate in to the outside of the frame, using a rabbeting bit in the router table. This was a pretty shallow groove – about 4mm – just enough to mostly hide the LED strip lights.
To hang the wall art up, I’m using french cleats. Aluminium french cleats. Specifically, this is Zenith’s SureHook, which I already had on the wall from the resin artwork I did last year.
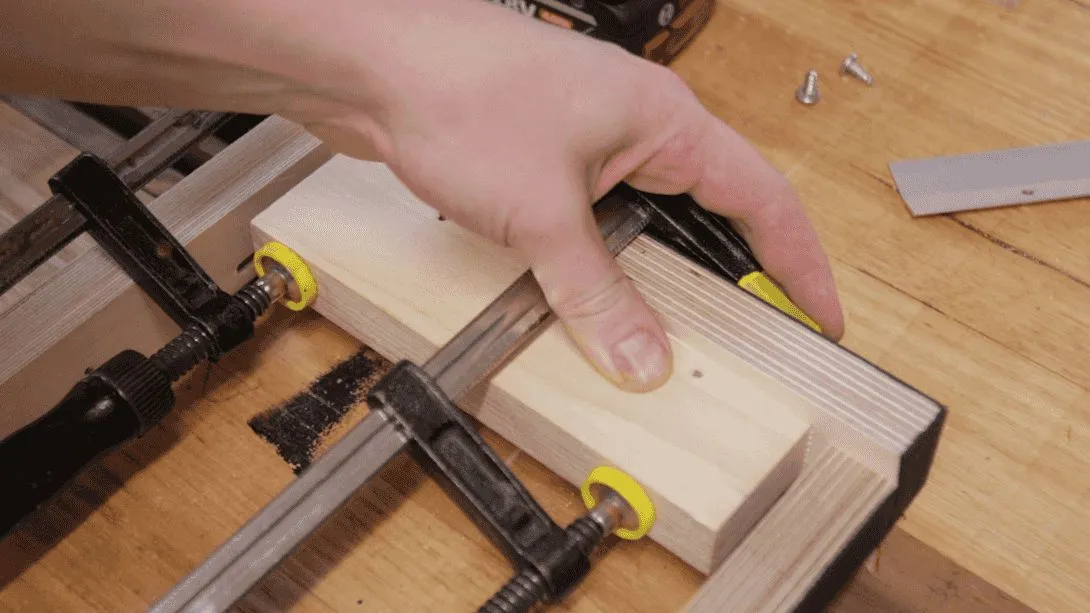
To attach the ‘picture frame’ side of it, I just needed to glue on a small block of wood.
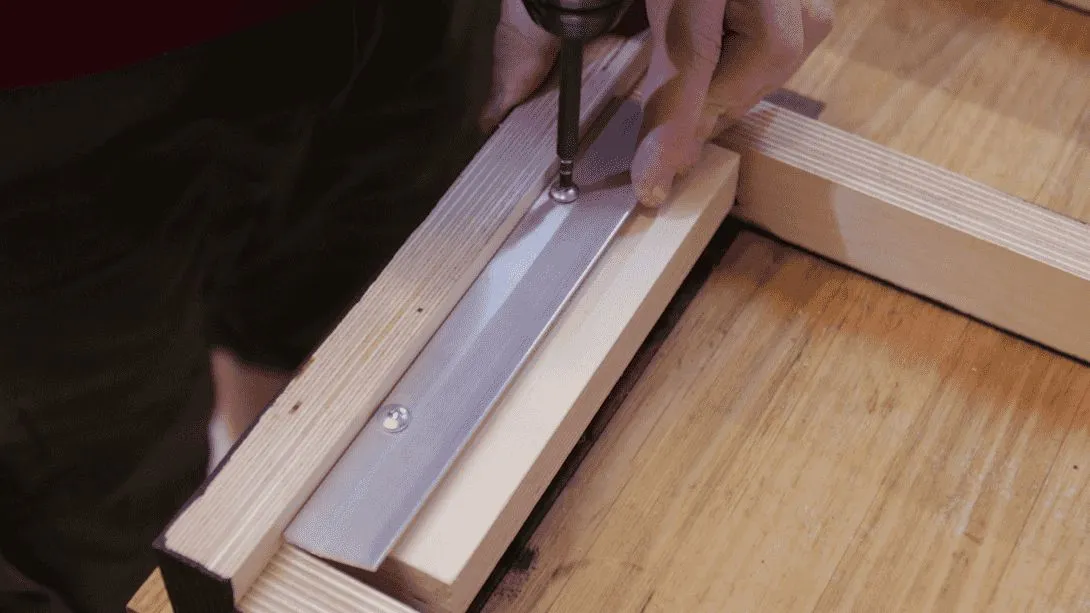
Then the ‘picture frame’ side of the aluminium could be screwed in. The spacing of the block – about 9mm – is such that the cleats will be hidden entirely inside the frame, so the frame will also rest on the wall.
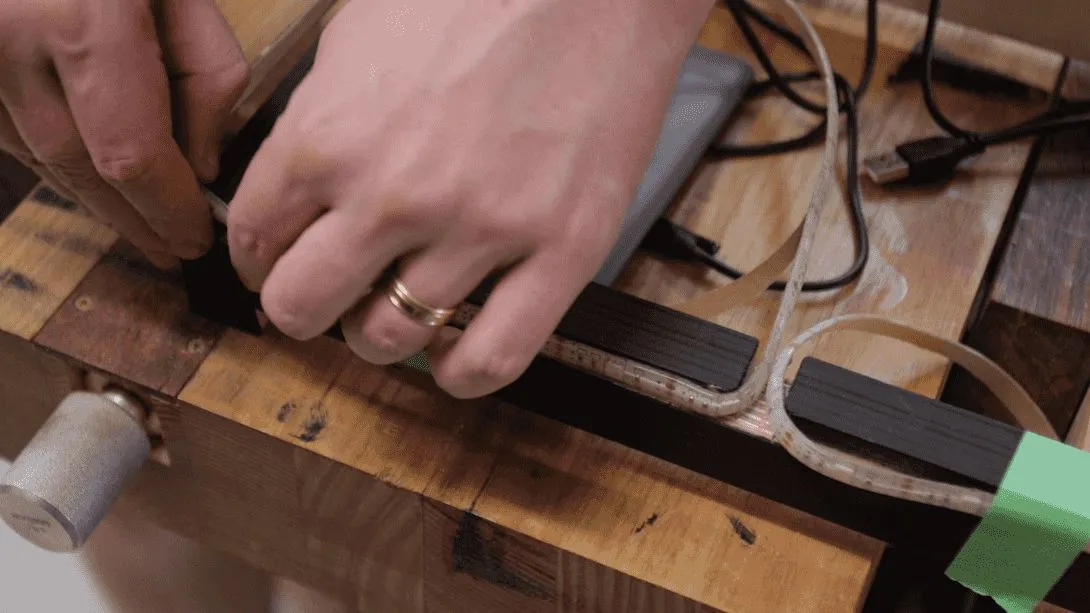
The LED’s come with a double sided tape preattached, so its easy to just peel and stick it in the rabbet created earlier.